(This article has been moved from my previous domain hyperbrain.me to this location.)
A natural pond is a great feature to add to almost any garden. Water features create favorable micro climates, habitats for many beneficial animals and provide water to the roots of surrounding trees and plants. If you want to create your own natural pond, this is the place to start!
This article is a short step by step guide to creating a pond of your own using all natural methods. Information about ideal size, favorable shapes, plants and animals to incorporate etc will be presented in later articles. See this post as a short introduction. You can experiment with the method described below on a very small scale to get a hang of it before you plan a bigger project.

I learned this method when I took a pond building course at the Green Lounge garden in Heidelberg with Harald Wedig as a teacher. I do recommend that you take a proper workshop to learn more if you want to build larger natural ponds. It was great to get hands-on experience together with others and with the support of a teacher that has built a huge number of ponds already.
No pond liner needed
The method shown below works without using a pond liner. It’s definitely possible to build a pond that is waterproof without one. We used bentonite clay to make sure the soil would retain the water. Some soils would retain the water even without this, but in most cases it would be recommended to add some to be sure that the pond doesn’t start leaking. Other soils may be far too sandy an then you might have to add other methods to make sure the water stays where you want it to be.
More on that in a later article. With the method described below you can start experimenting on a small scale in your own garden.
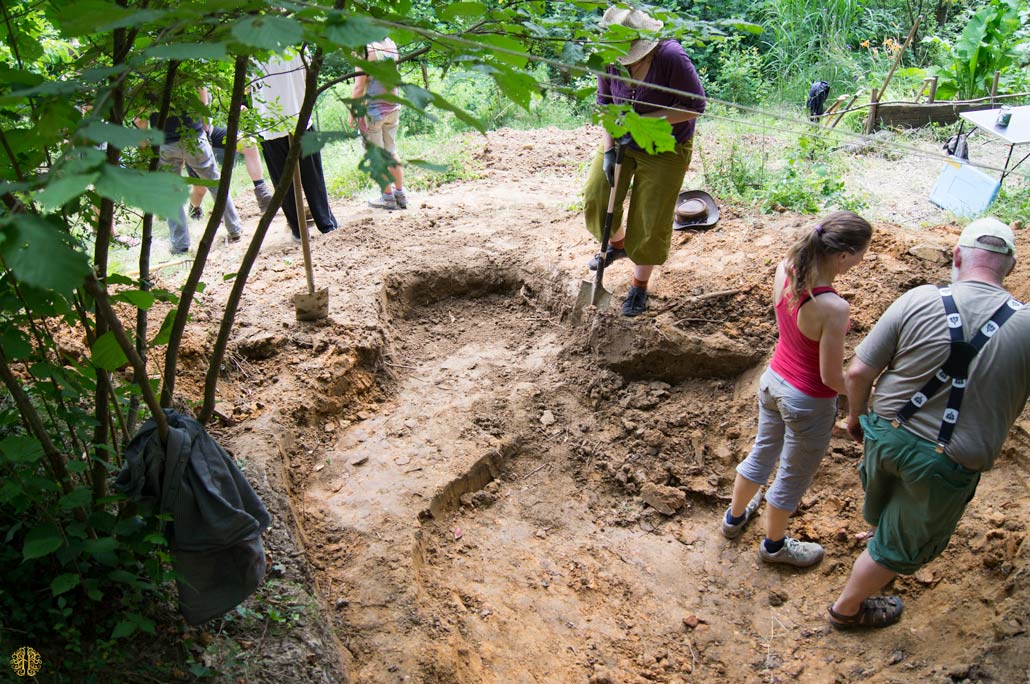
1: Dig the hole for your natural pond
Make sure to create a shape with a lot of edge = irregular rather than smooth lines. Also make sure to dig out areas that are deeper and some that are more shallow to create different microclimates and habitats for different plants and animals.
It’s important to remove all top soil containing humus. Keeping it would cause the pond to leak.
(Note: Make sure to inform yourself about local legislation on ponds and other water features, especially if you’re planning a larger pond.)
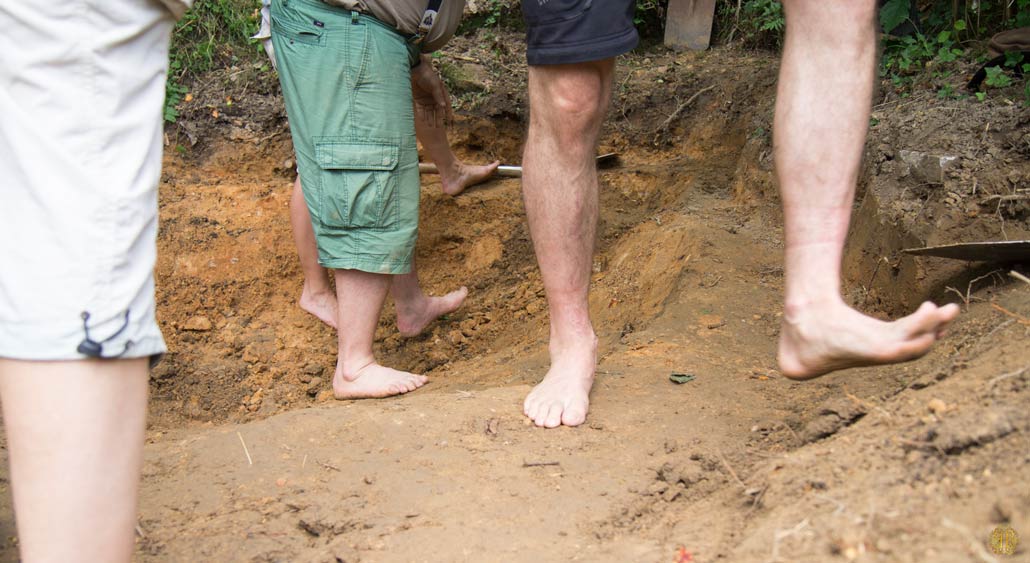
2: Clear out rocks
Clear out rocks and stones that are larger than the thickness of your sealing layer (in our case it was around 3-4 cm). Then stomp the bottom of the pond with your feet to compact the top layers of soil.
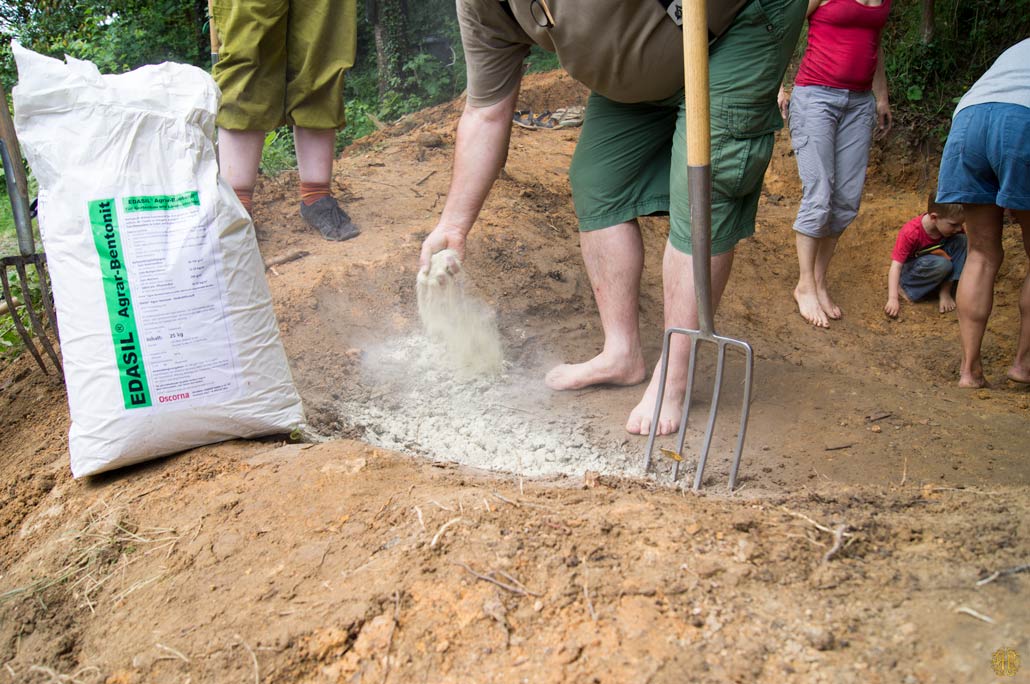
3: Add bentonite clay
Carefully loosen the uppermost layer (ca 2 cm) and mix in bentonite clay powder. Stomp the bottom one more time until the surface is compact and without cracks. Then work in one more layer of bentonite starting at the bottom in the middle and working outwards in a spiral.
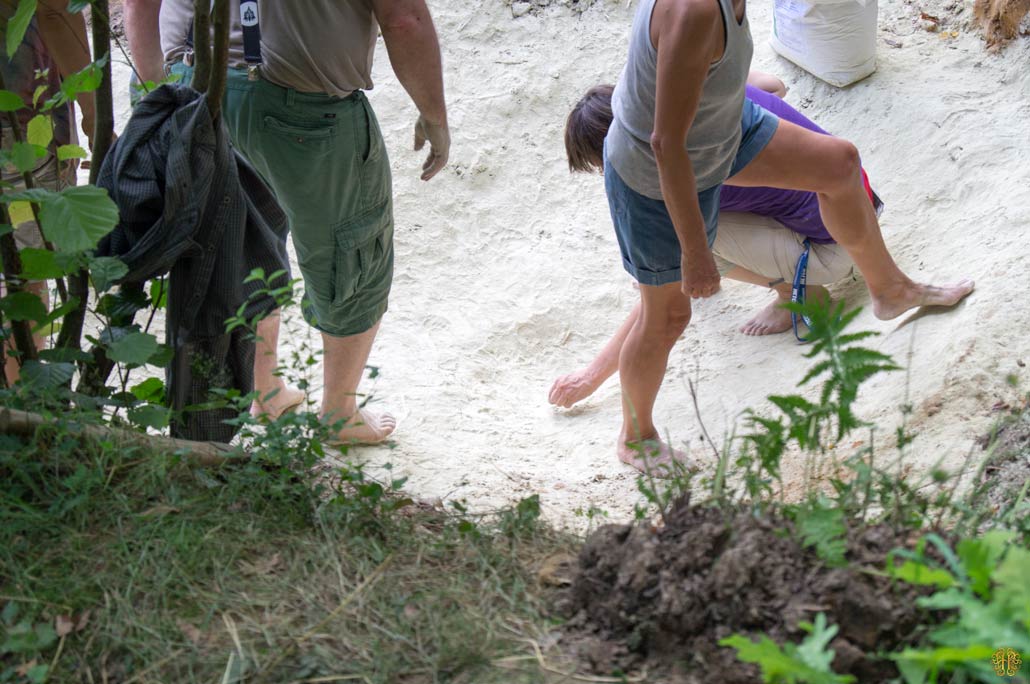
4: Hiding features for small creatures of the pond
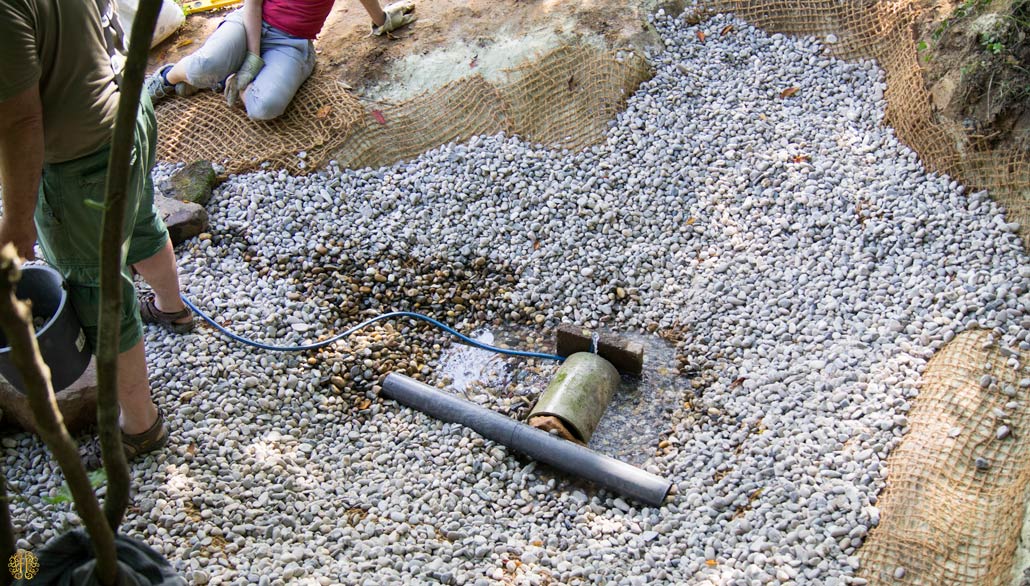
Add larger rocks, pipes, logs etc to the bottom to create habitat for small fish and other animals needing a refuge from predators. It is important to do this before filling up the pond with water to better protect the bottom. Stepping in or sliding across the bottom with your feet may cause leaks.
5: Pebbles for extra protection
Add a layer of pebbles to the bottom of the pond for protection. They will protect the bottom in case you do need to step into the pond as well as create potection against strong rain and movement on the bottom.
6: Stabilize the edges
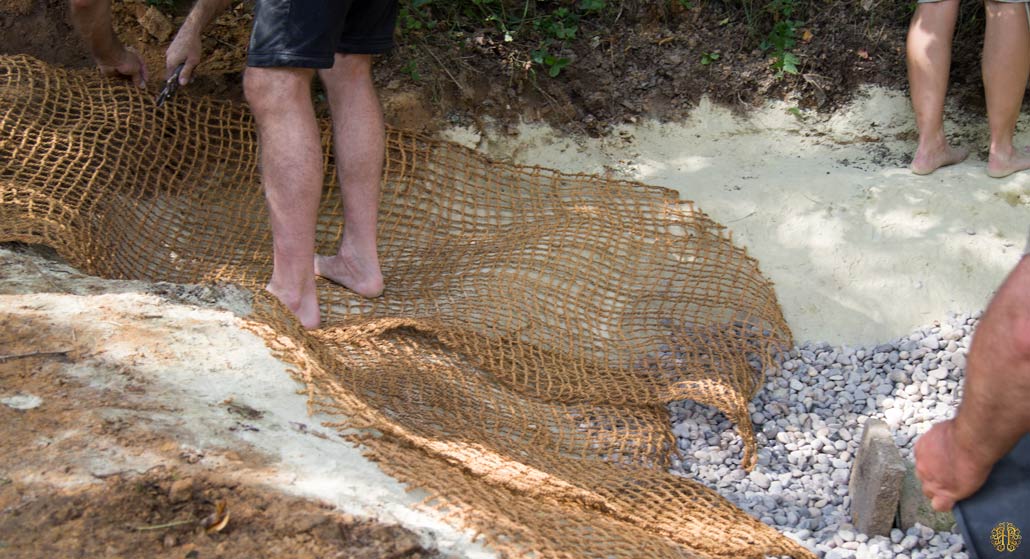
Add coconut fiber mats to the edges of the pond to stablilze them. This is useful when needing to do maintenance. Fix them at the edges with forks of branches. Fold in the edges of the coconut fiber mats when filling up the water to avoid them sucking up water and leading it away to the surrounding soil as this may cause the soil to become unstable when it’s saturated with water.
7: Create protected habitats in shallow areas
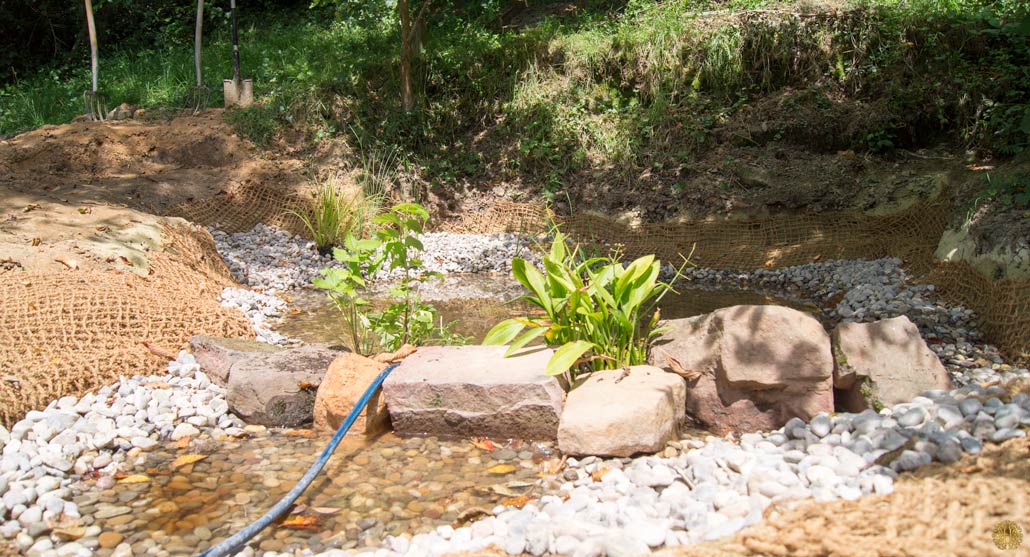
Add some rocks or other items to more shallow parts of the pond to create a protected habitat for amfibians as well as giving insects a place to drink safely without falling into the pond.
8: Time to fill up water in your natural pond!
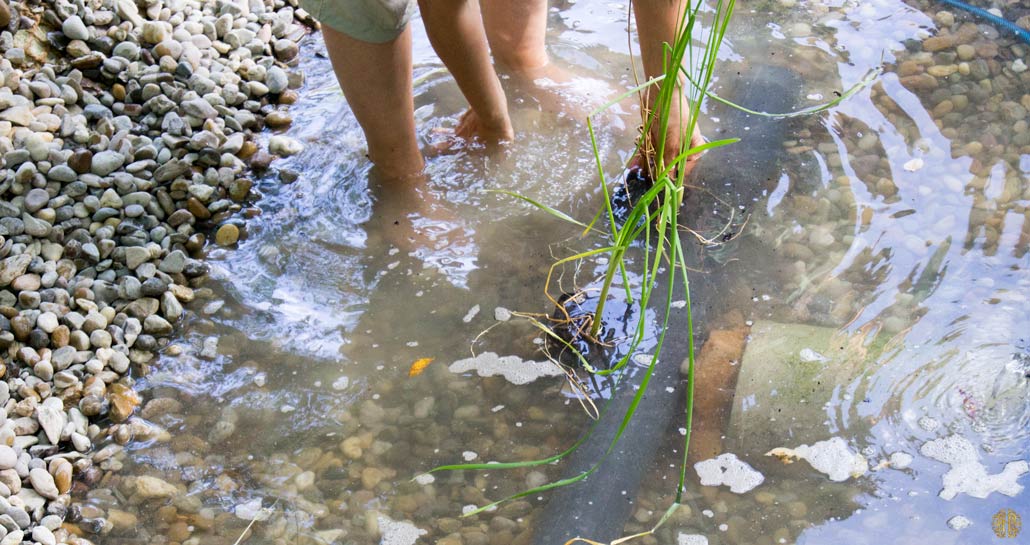
Fill up water with a hose placed on a tarp placed halfway down in the pond. This is done to protect the bottom so that the bentonite isn’t being washed off. You will probably need to fill the pond two to three times before it retains the water level. It is natural that the water slowly seeps away during the first days since it saturates the soil surrounding it. This is the perfect time to add some waterplants, which you will need to help keeping your water clean. If you notice that your pond seems to lose water too fast after this, throw in a few fistfuls of bentonite clay.

Your pond is now ready and you can add fish, snails, amphibians and other creatures to help you in the garden.

