A step-by-step instruction with pictures.
(This article has been moved from my previous sites hyperbrain.me / svarttorpet.se.)
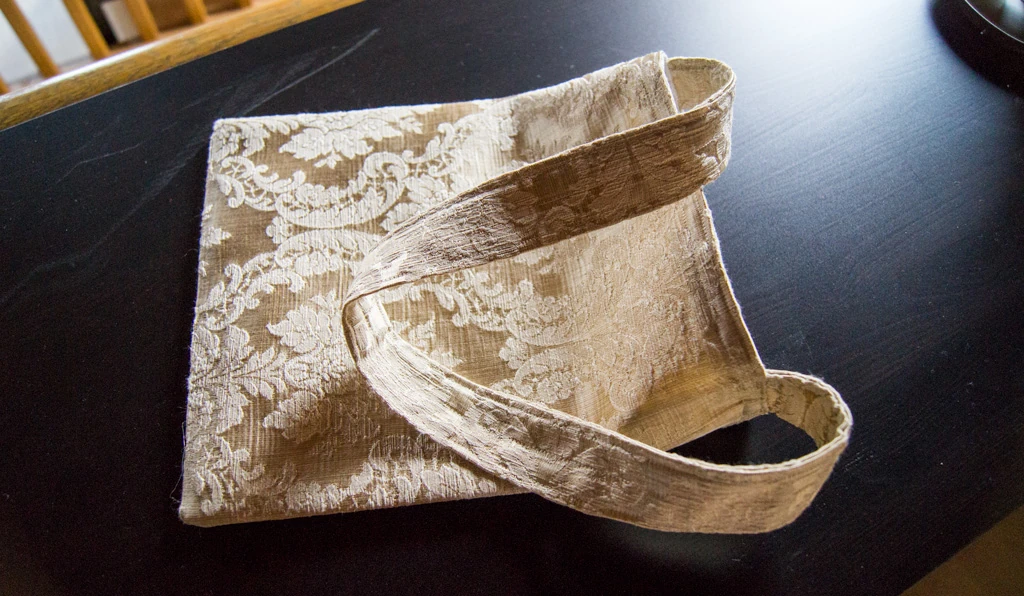
Today I’ll show you how to sew a simple shoulder bag / tote bag. It’s a small, practical shoulder bag that fits most items you may need for a night out (wallet, phone, keys, handkerchiefs etc), well, at least I’m not the type that usually likes dragging around half of my household on my shoulder. The same principle can be used for creating larger bags as well, but then I recommend that you do it with two straps.
This tutorial requires basic sewing skills on a machine or knowing a couple of hand stitches. If you don’t know how to do that yet, I might publish some basic hand sewing tutorials later. Meanwhile you can find some of the basics in this Youtube video.
You will need the following:
- Two types of fabric – 40-50 cm fabric (at least 80 cm wide) of each type
- Fabric scissors
- Long ruler or measuring tape
- French chalk or a pencil
- Sewing thread
- Sewing needle or a sewing machine
- Medium to large safety pin
Shoulder bag material suggestions:
Use a sturdy but not too heavy fabric, for instance cotton, linen or a lighter furnishing fabric. If you use a heavier fabric, choose a lighter lining fabric to avoid that the bag gets too bulky on the seams.
If you’re planning on sewing a lot, I highly recommend getting a long metal ruler. I have one that is one meter long and it’s one of the best tools I have to make sure I draw straight lines on the fabric. Now let’s get going!
Note: All measurements already include a seam allowance of 1 cm.
Sewing instructions:
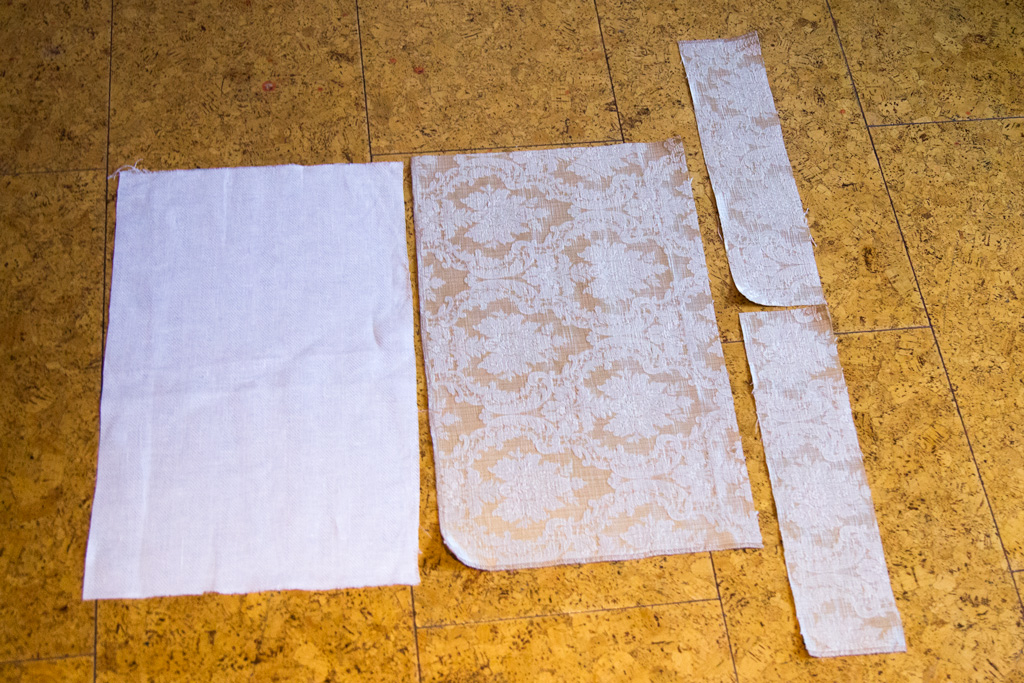
1: Cut out two pieces of fabric, each one 30 cm high and 55 cm wide. These make up the bag. Then cut out one piece for the shoulder strap that is 10 cm high and 80 cm wide. If you want to make the shoulder strap reversible as well, cut out one piece of each fabric that is 6 cm high and 80 cm wide.
2: Zig-zag all the edges to prevent the fabric from fraying. If you want to add embroideries, ribbons or similar to your bag, this is the time to do it. (If you want something to be centered, remember to start measuring from where your seams will be and not from the current outer edges.)

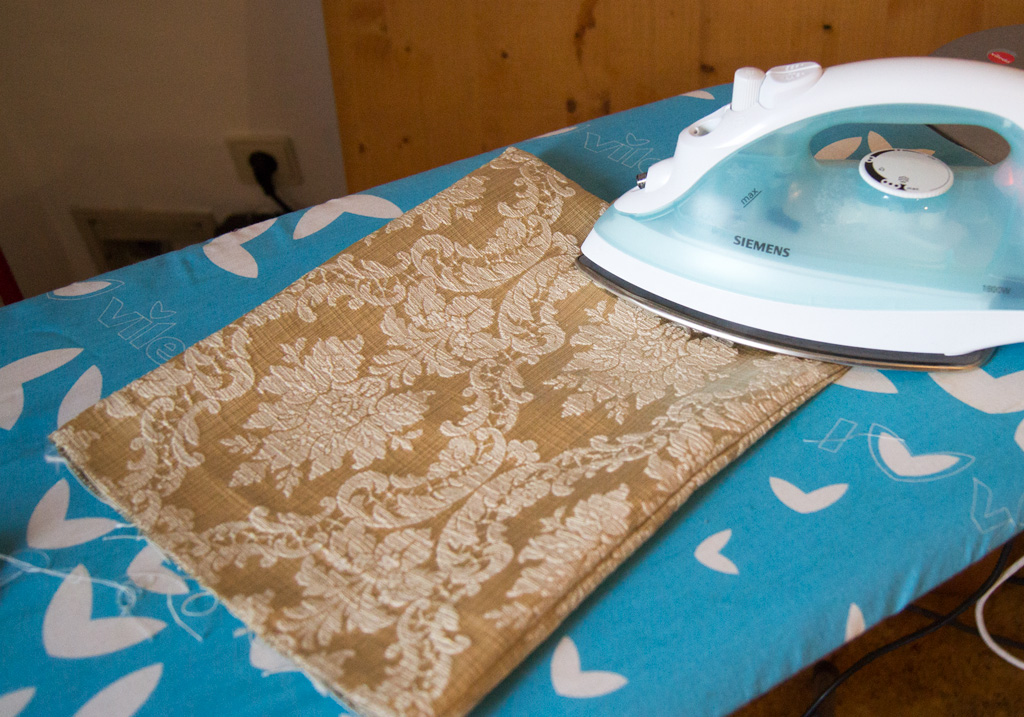
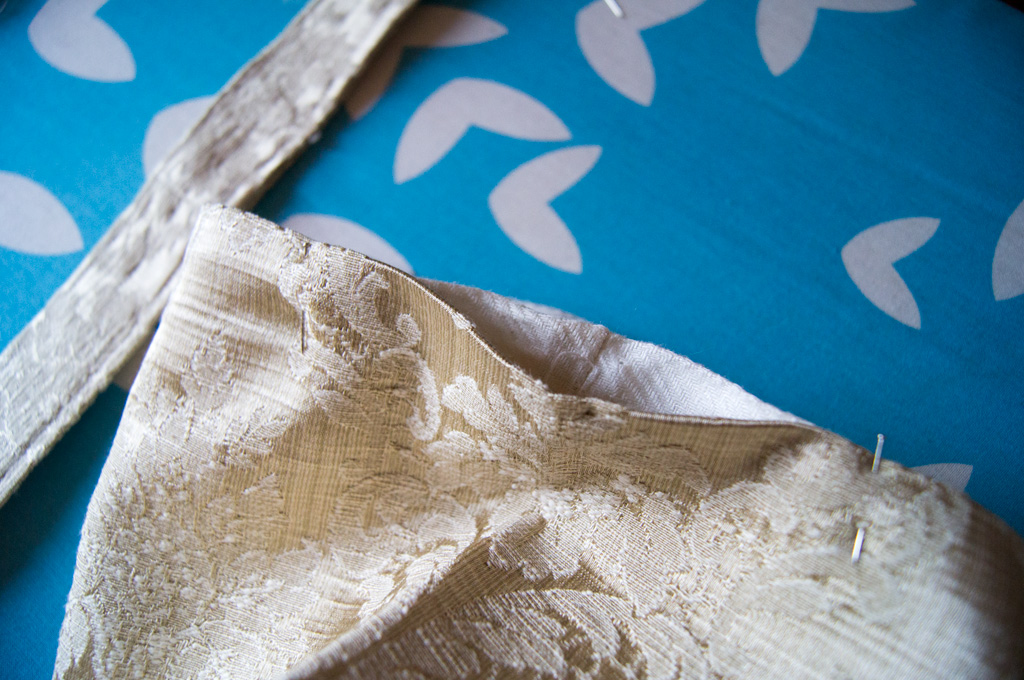
3: Fold the fabric in half on the vertical line with the right side (the one that will later face outward) facing inwards. Pin the fabric down and press it with your iron. Sew the lower edge and the side with lockstitch, one centimeter in from the edge. Leave the top open of course! Repeat on the second part of the bag. Cut off a small bit of the lower corners (outside of the seam) to make sure they keep their shape when turning the bag.
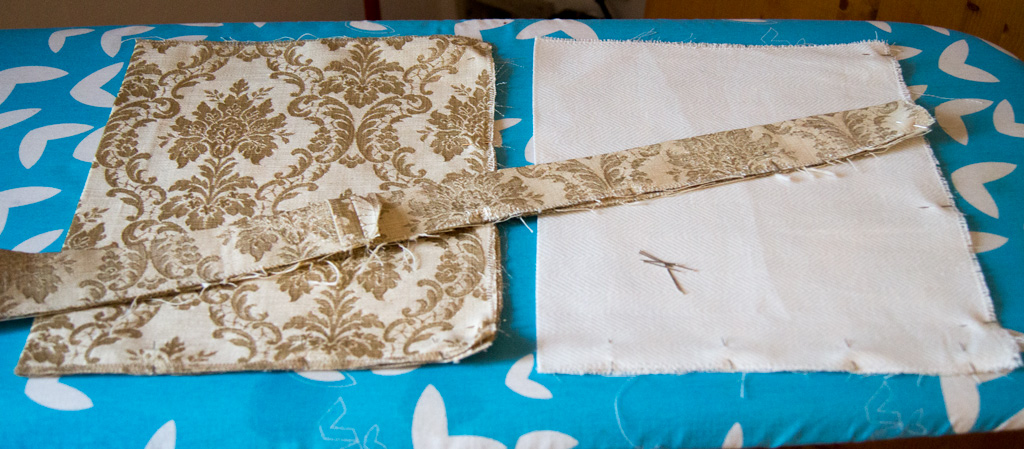


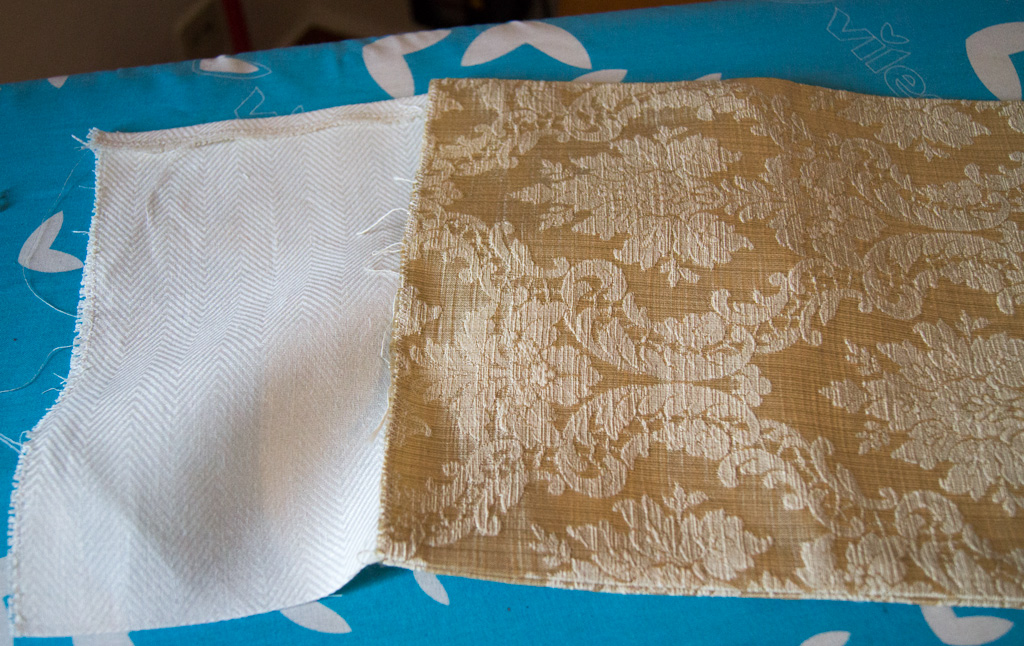
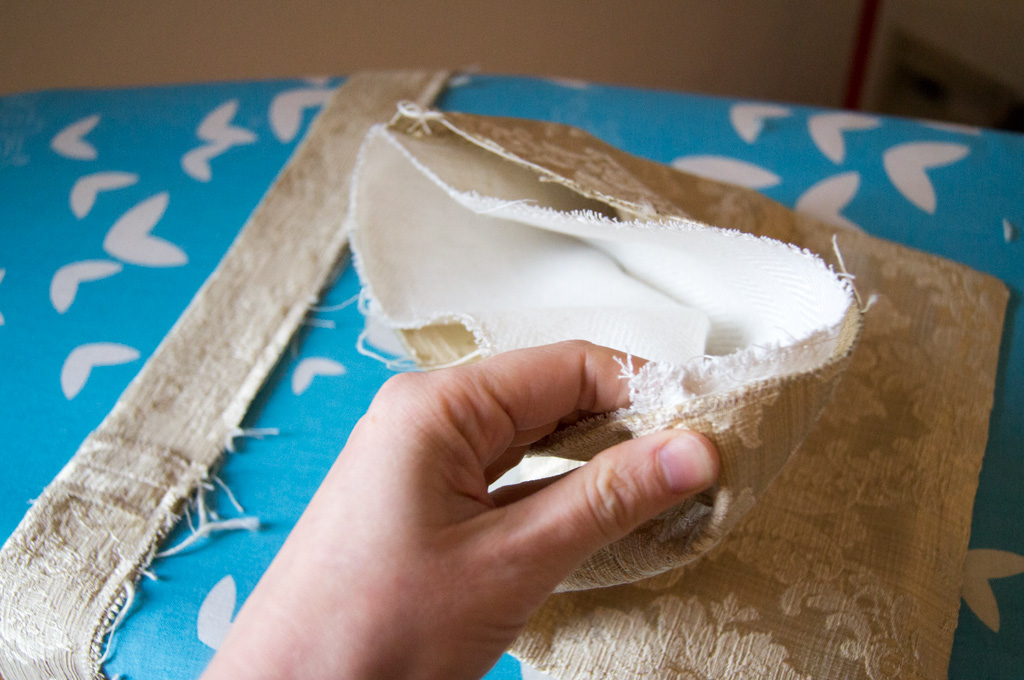
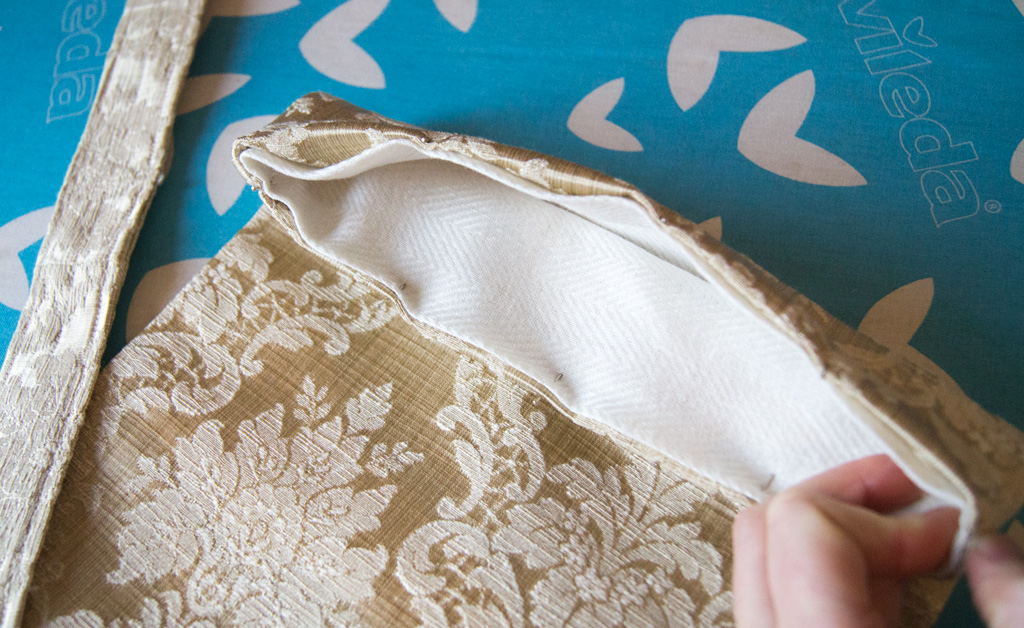
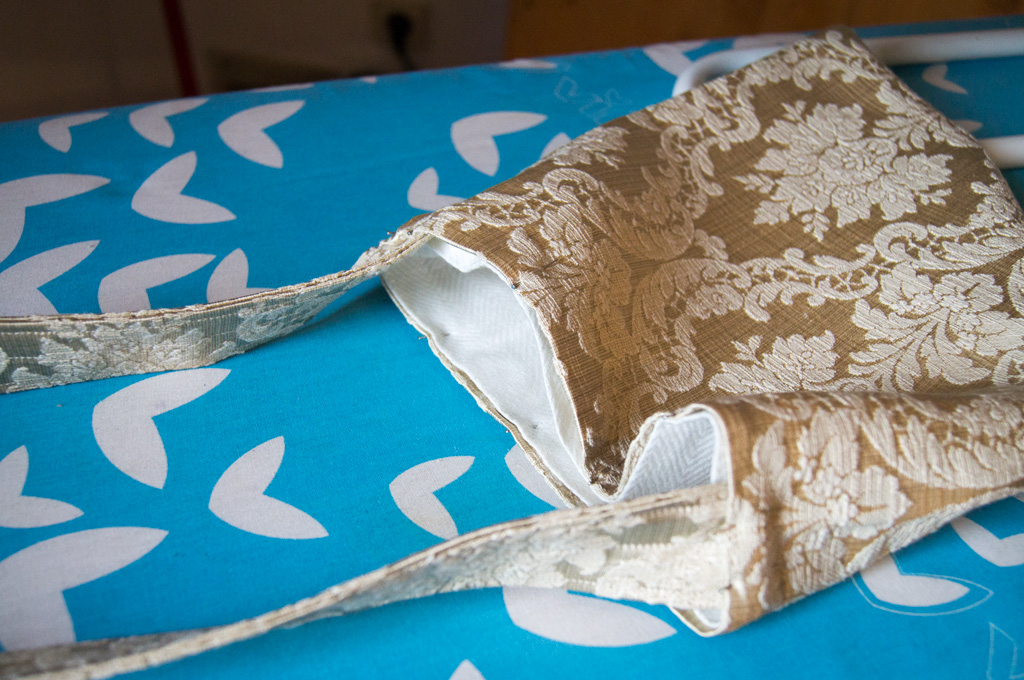
4: Turn one of the fabric pieces with the right side out again. Press seams of the other one down to make it fit better inside the first and then position it inside that one. Make sure to position the seams on opposite sides to not have a bulk of fabric on just one side.
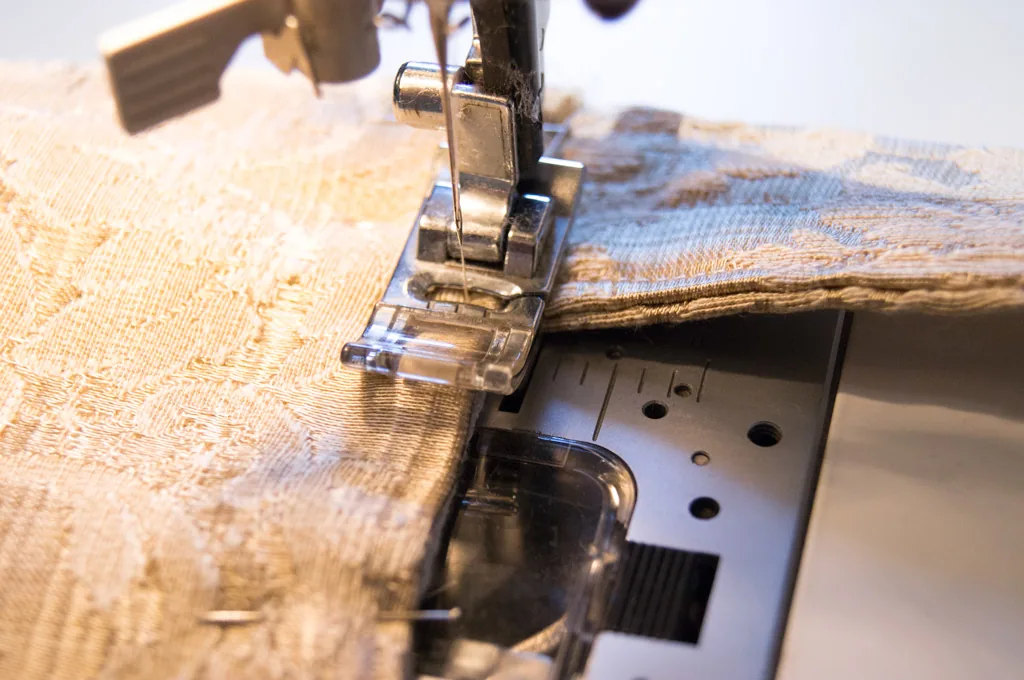
5: Fold the shoulder strap double (on the short side), right sides facing each other. Sew along the edge with 1 cm seam allowance. If you’re using two types of fabric for the shoulder strap, put them with right sides facing each other and sew along both edges. Take a safety pin and push through one layer at the end. Use it to help turning the shoulder strap to the right side again. Press the shoulder strap flat, then sew seams near the edges on both sides for a more finished look.
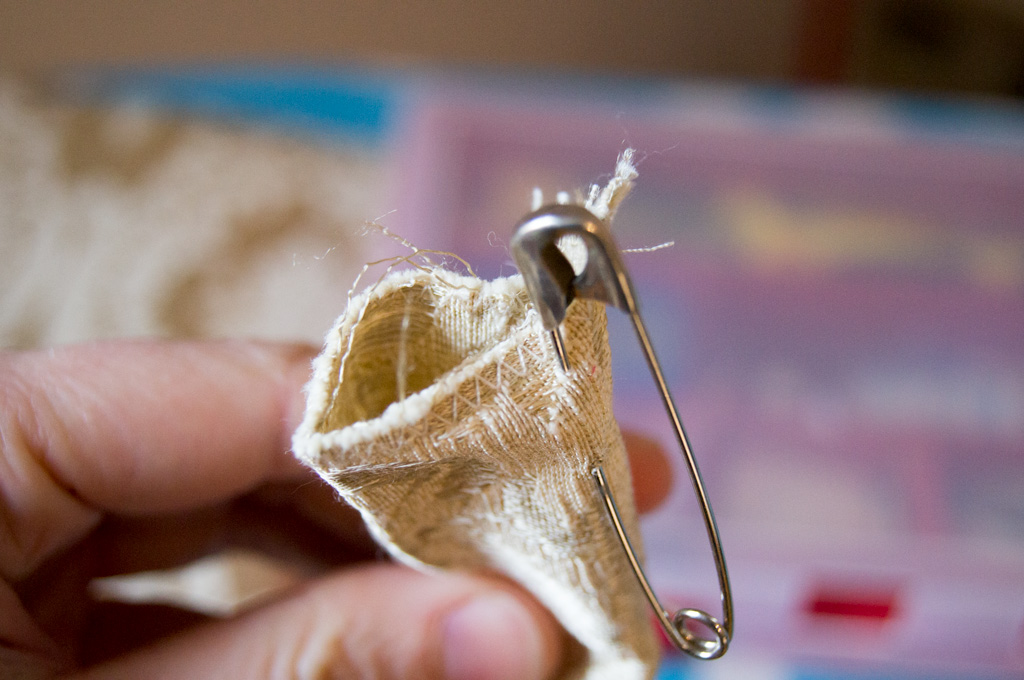
Use the safety pin to turn the shoulder strap right again before sewing the edges from outside.
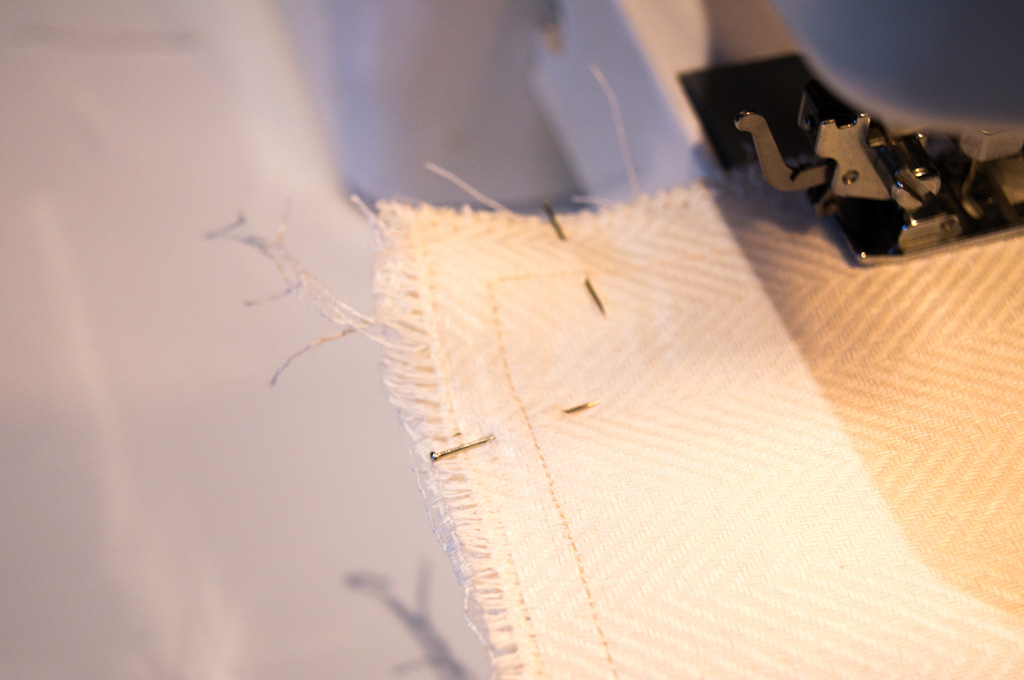
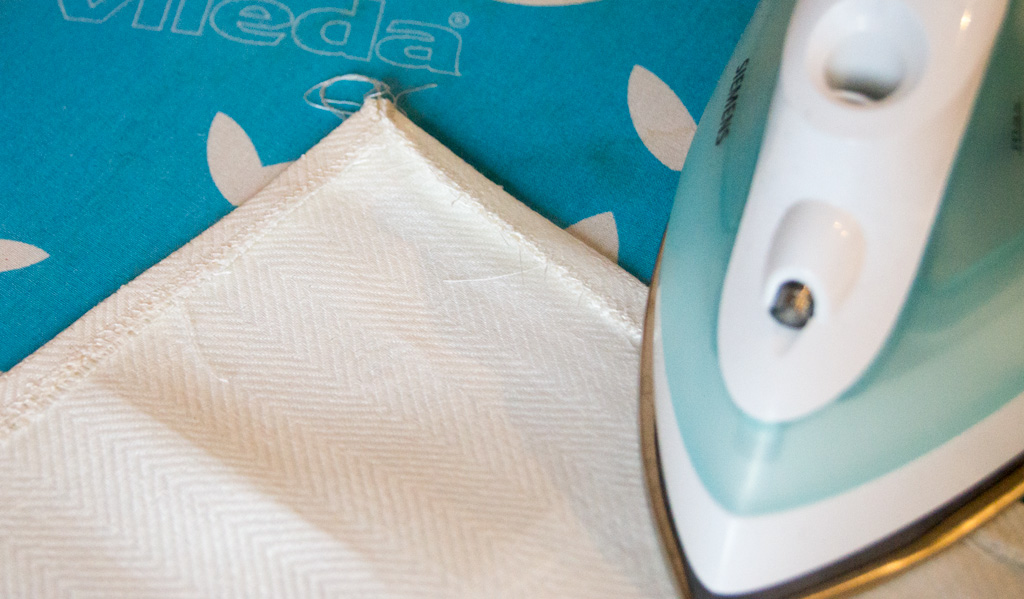
6: Fold in the upper edges of each fabric around two centimetres at the top of the bag. Pin and press the edge flat.
7: Remove the pins by the seams of the bag and push in the shoulder strap around 6-7 centimetres on each side. Make sure it’s well centered.

8: Sew the top with two seams – one close to the edge and one more 1-2 cm below. Like this you close the edge and also make sure that the shoulder strap stays put.
Your bag is now finished!